Home
News
Events
Calendar
List of Events
Performing Arts
Current Productions
Past Productions
Iconic Works
Chronology
Visual Art
Exhibitions
Video Portraits
Works on Paper
Furniture & Design
Environment & Installation
Glass
The Artist
About
Press Kit
Memorials
Robert Wilson Arts Foundation
The Watermill Center
Contact
Shop
Menu
Prev
Next
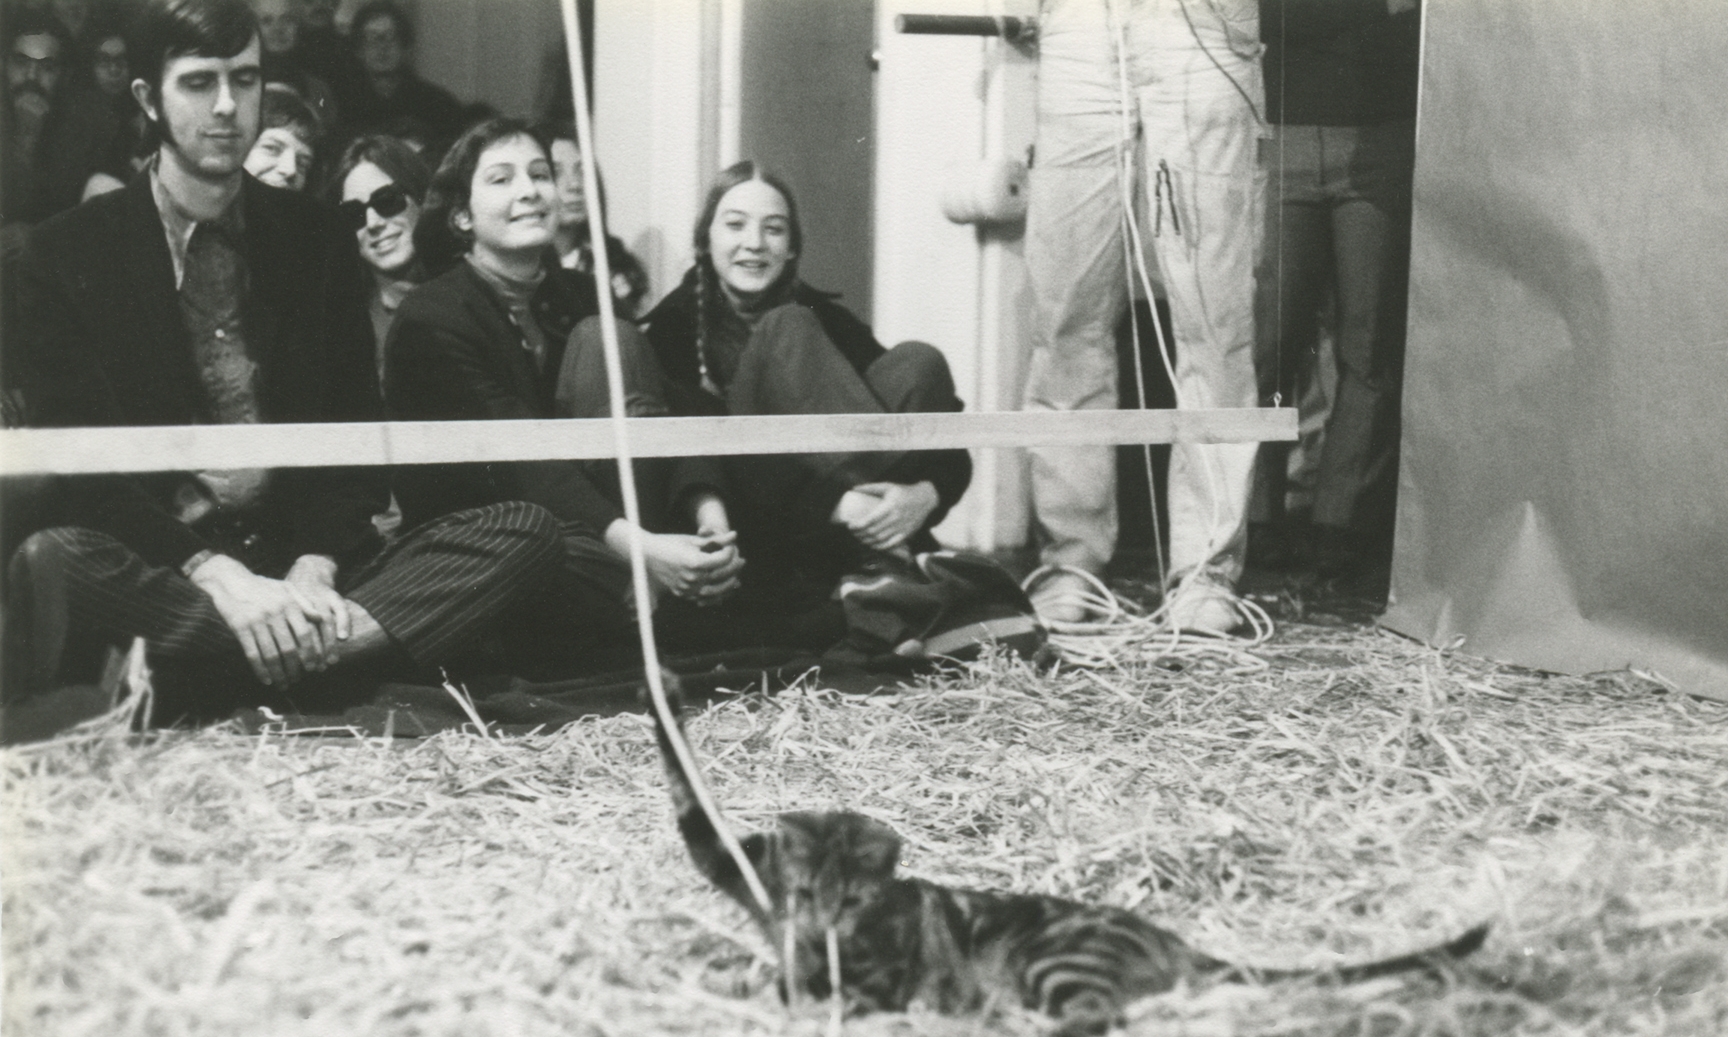
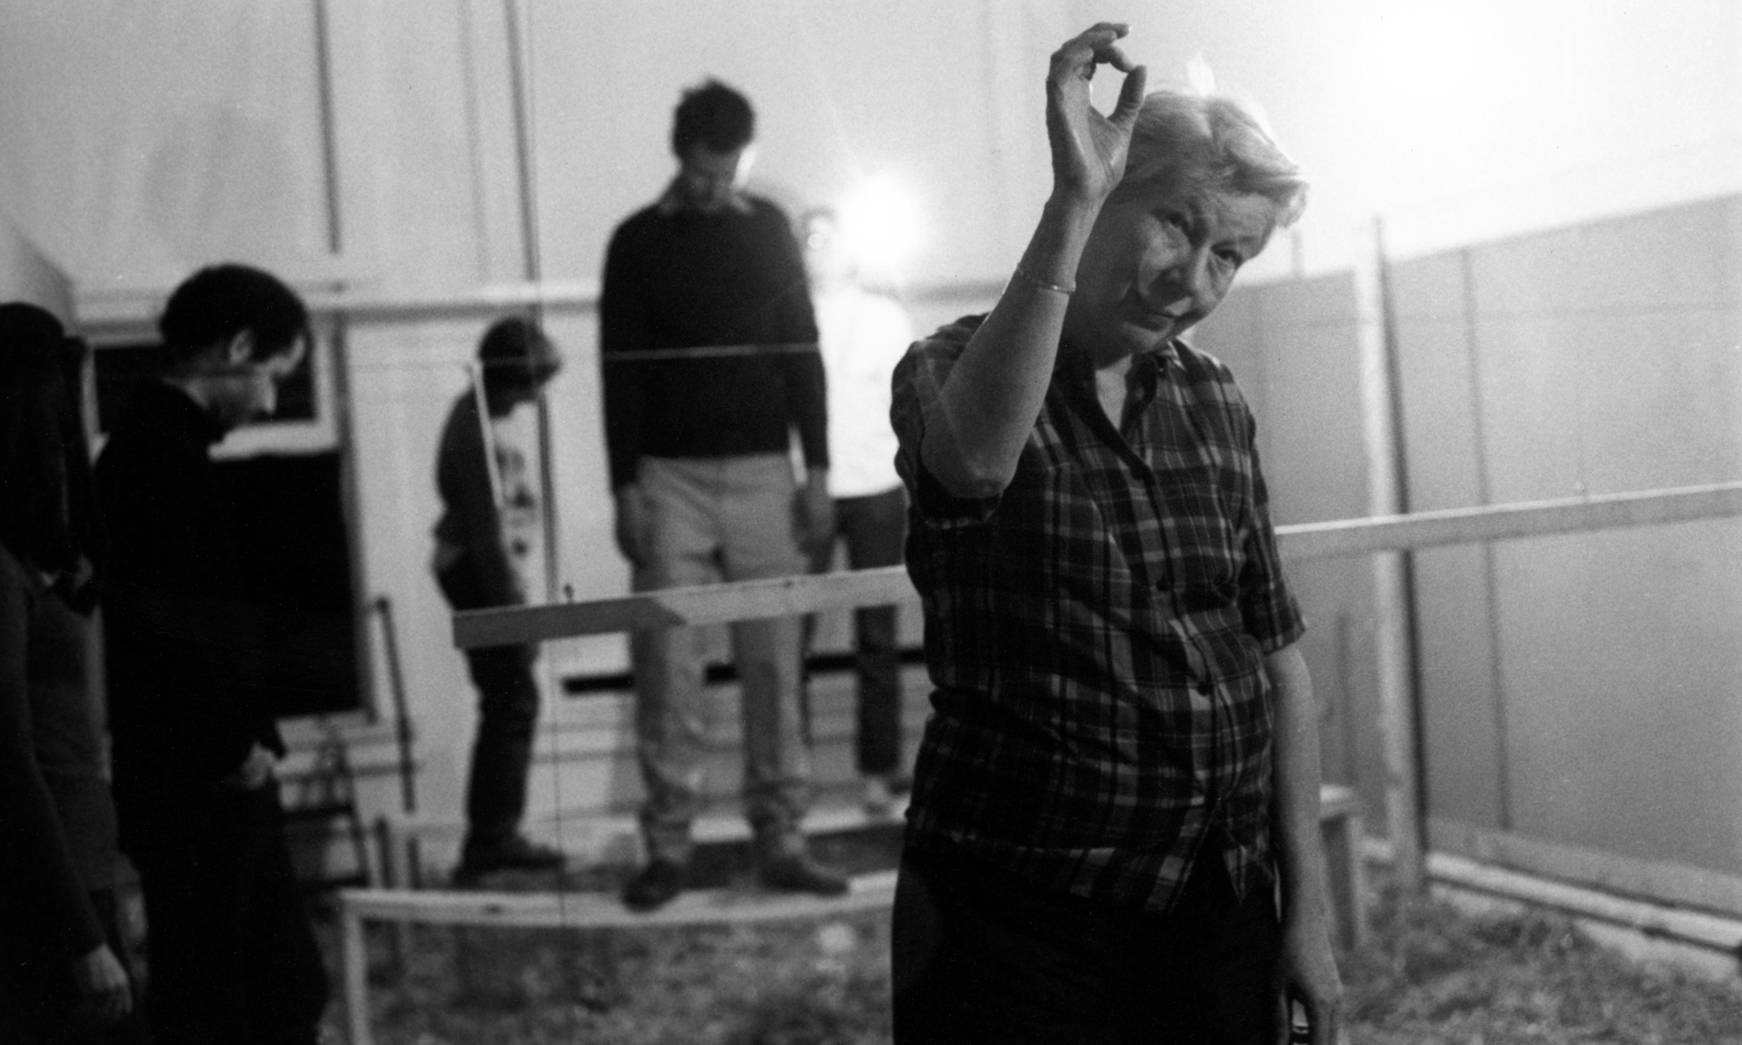
Photograph © The Byrd Hoffman School of Byrds
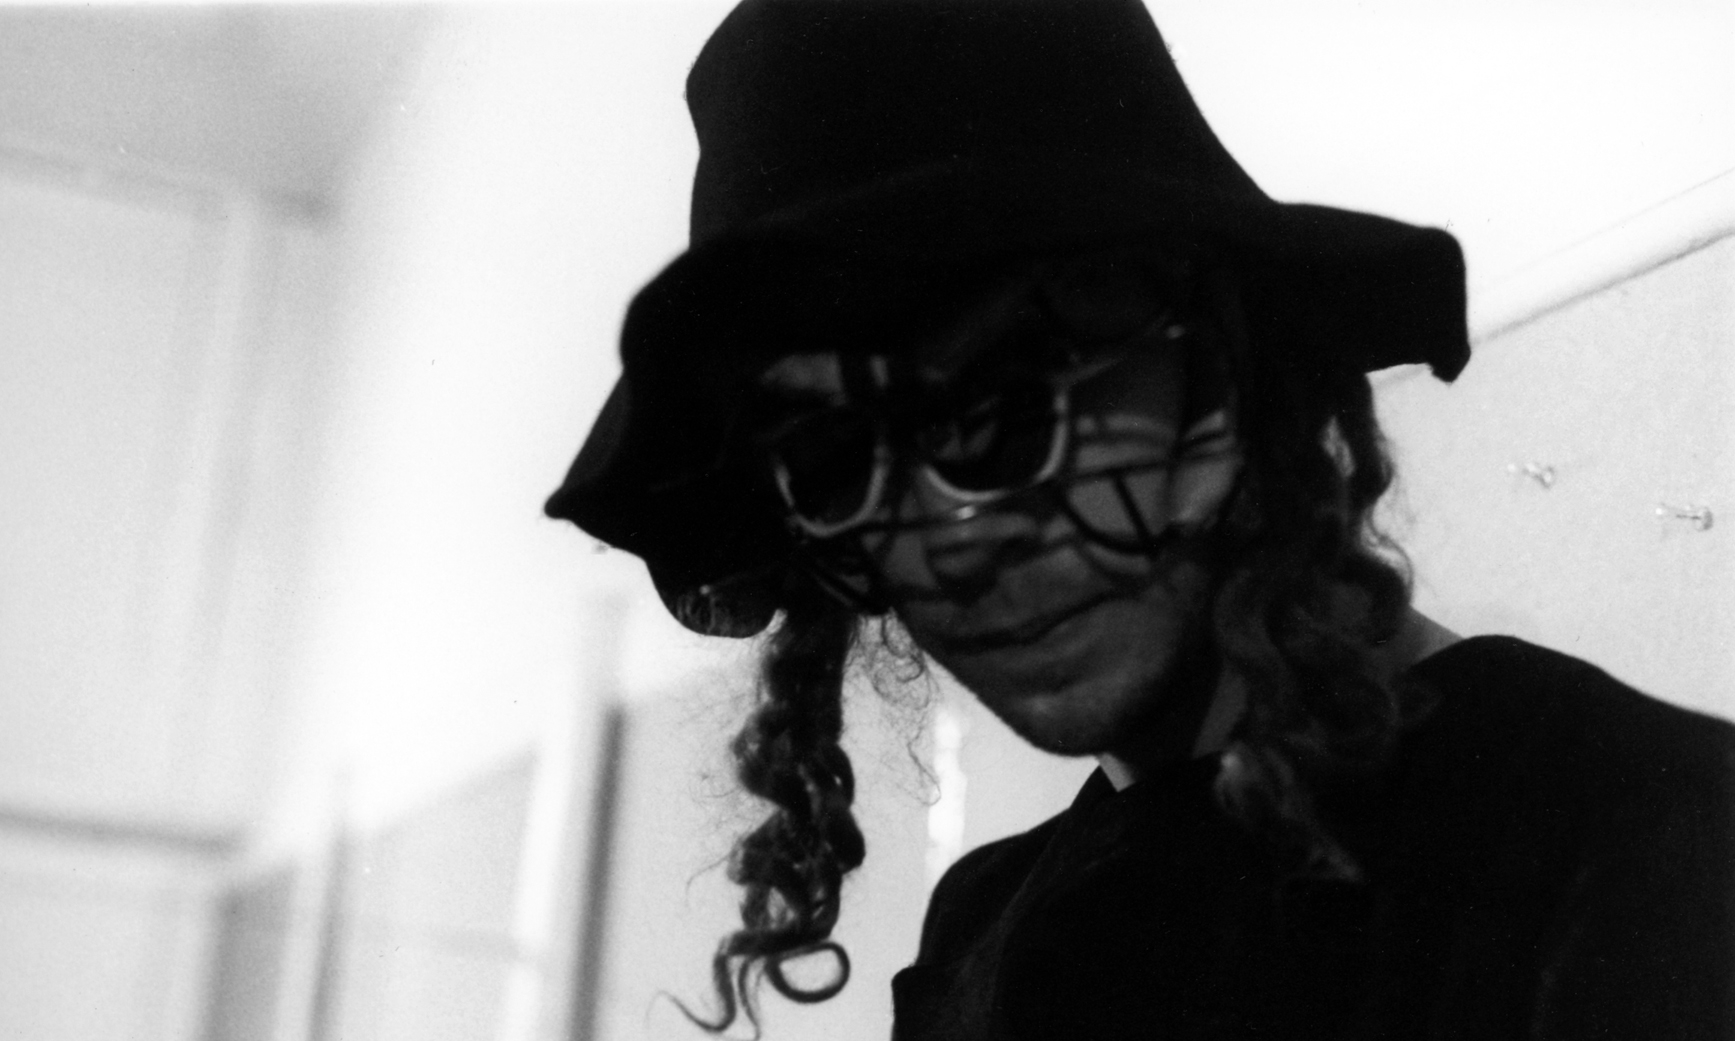
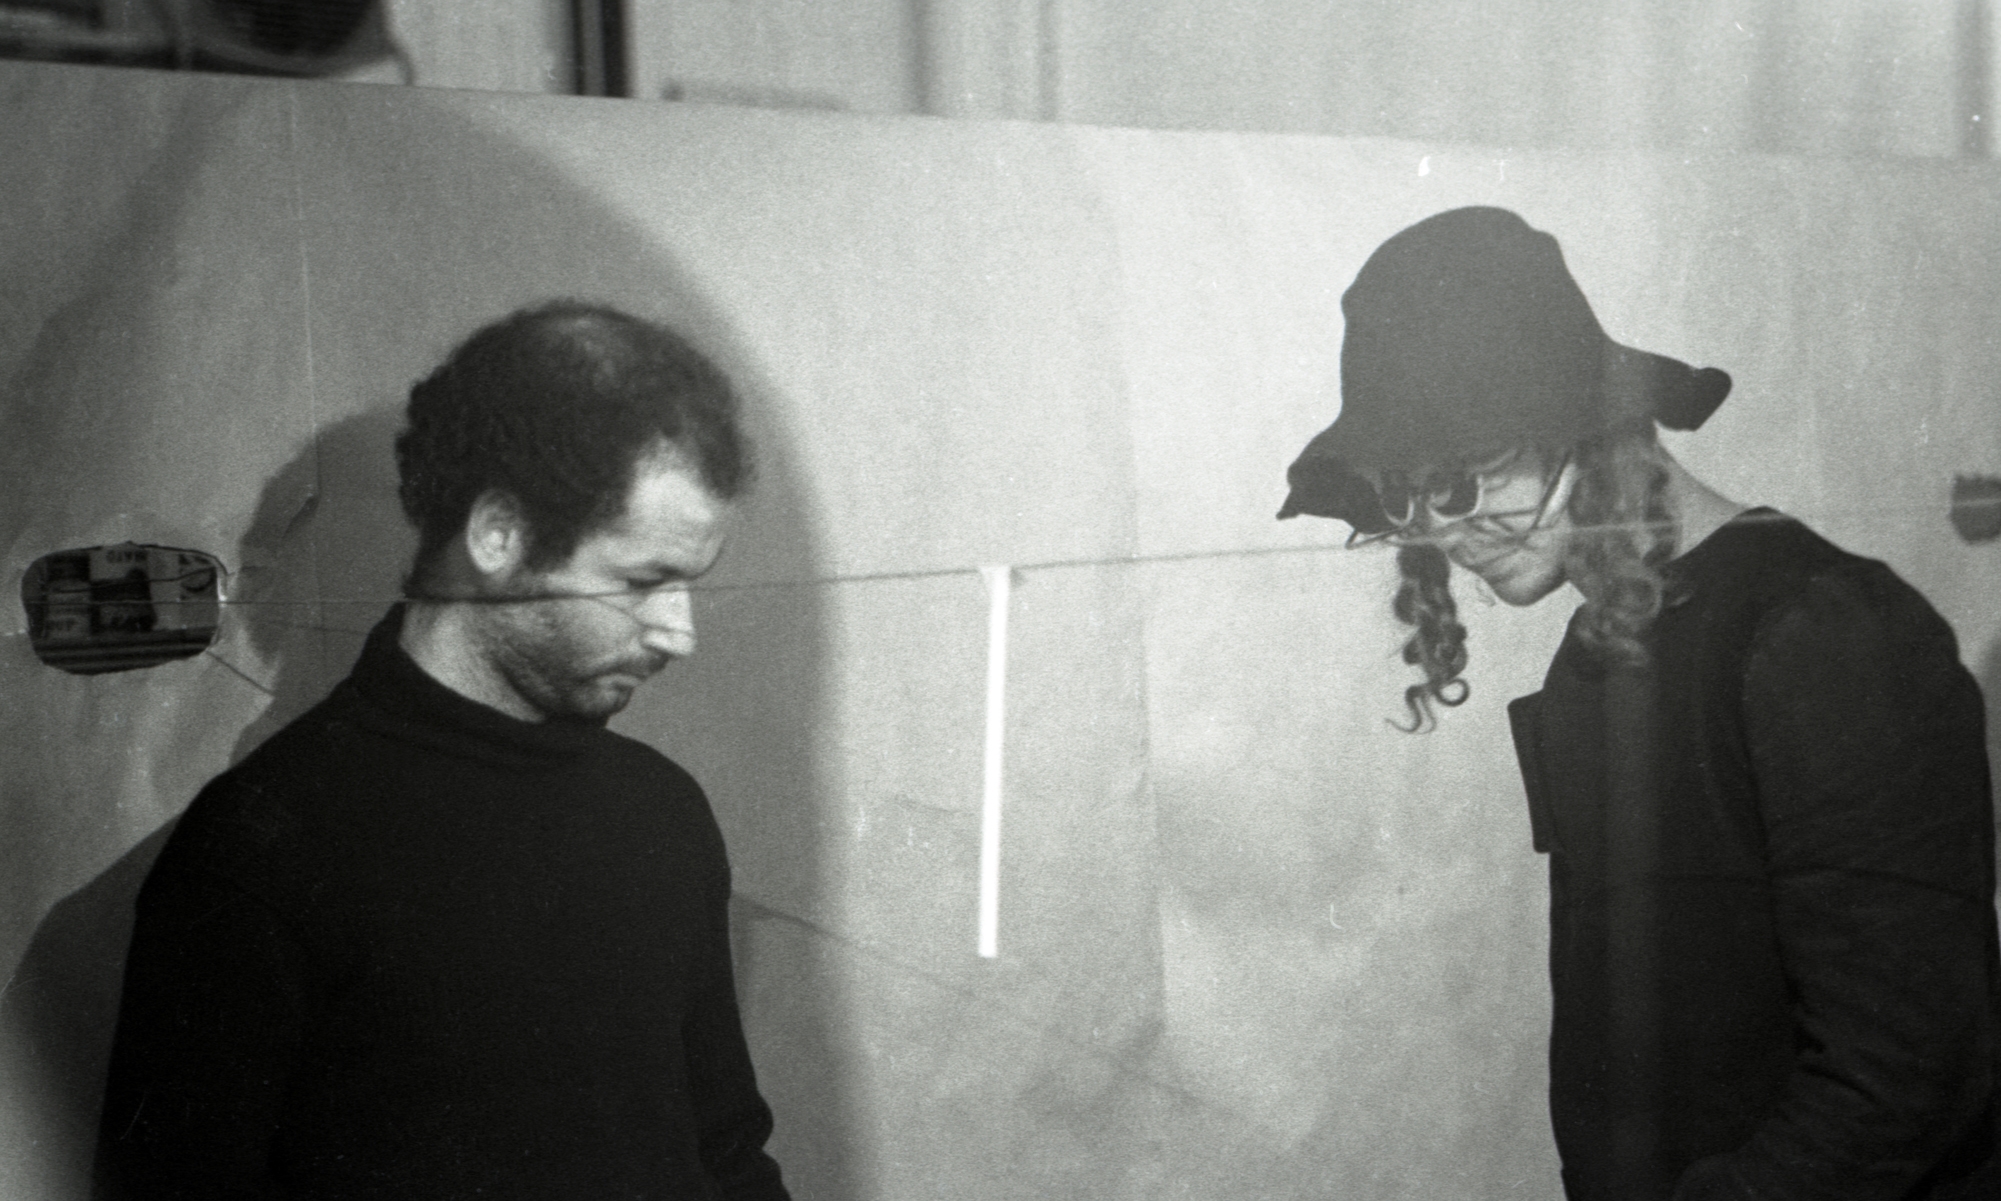
Photograph © The Byrd Hoffman School of Byrds
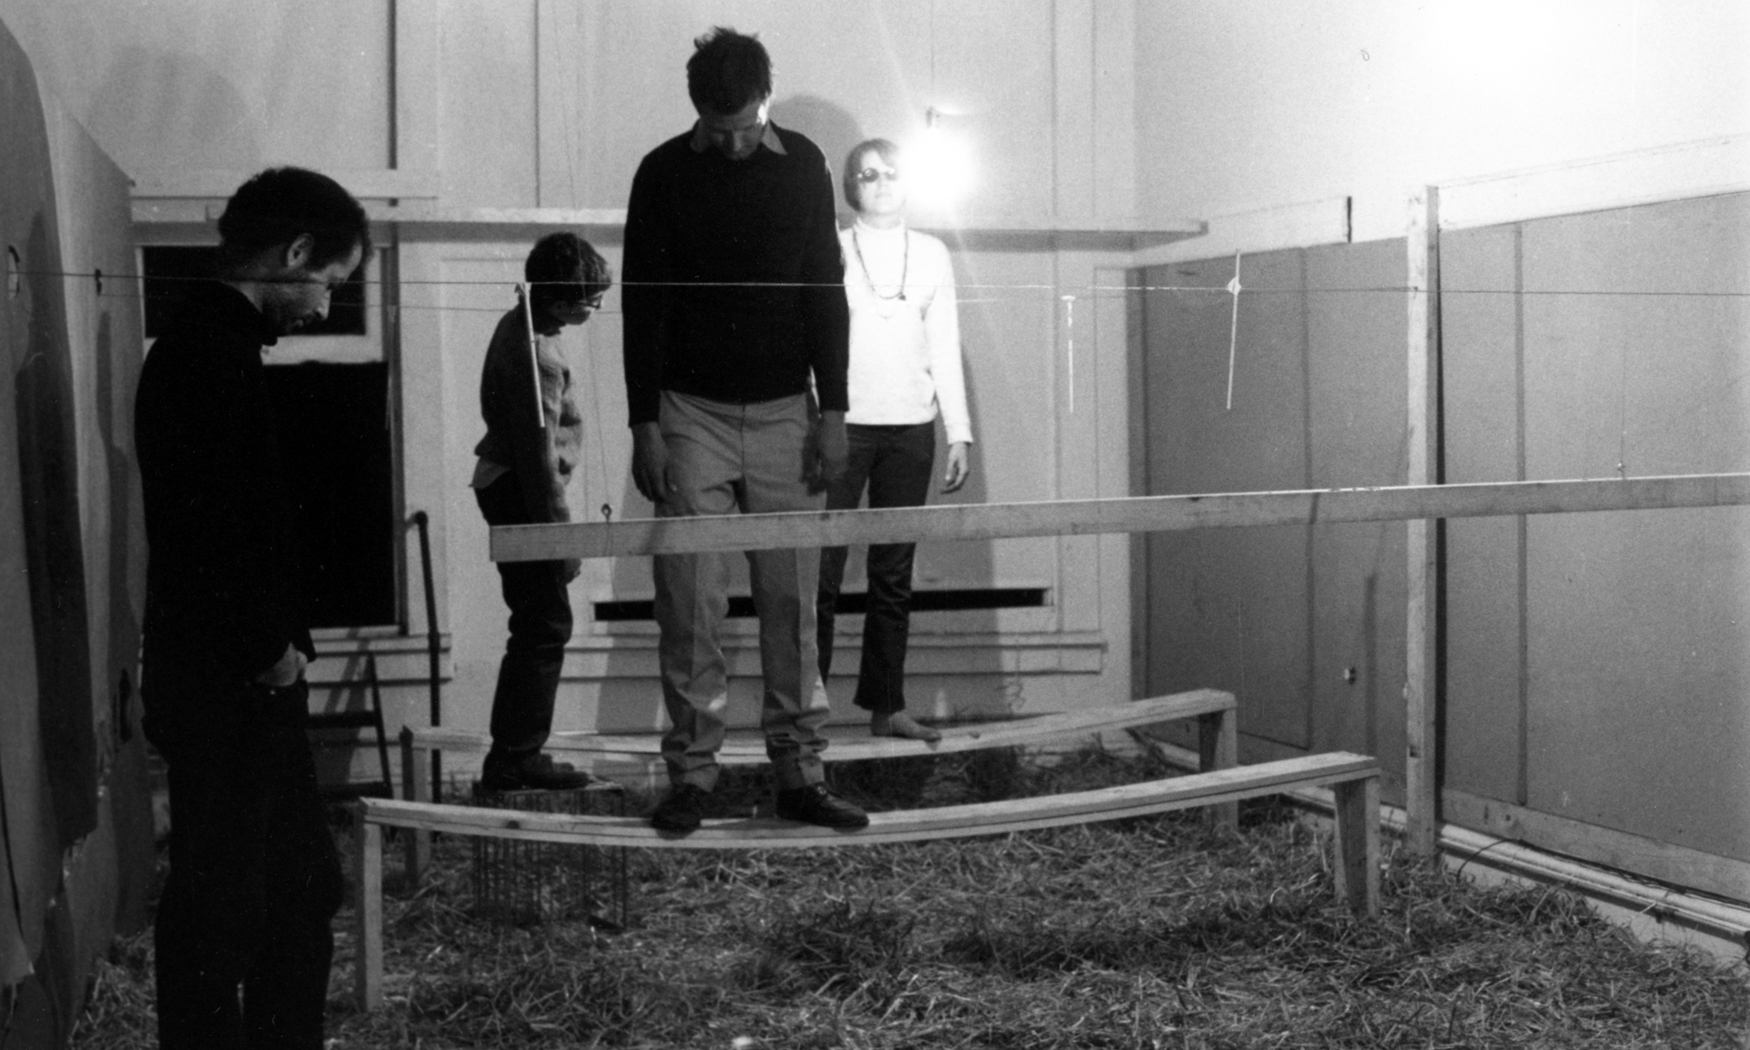
Photograph © The Byrd Hoffman School of Byrds
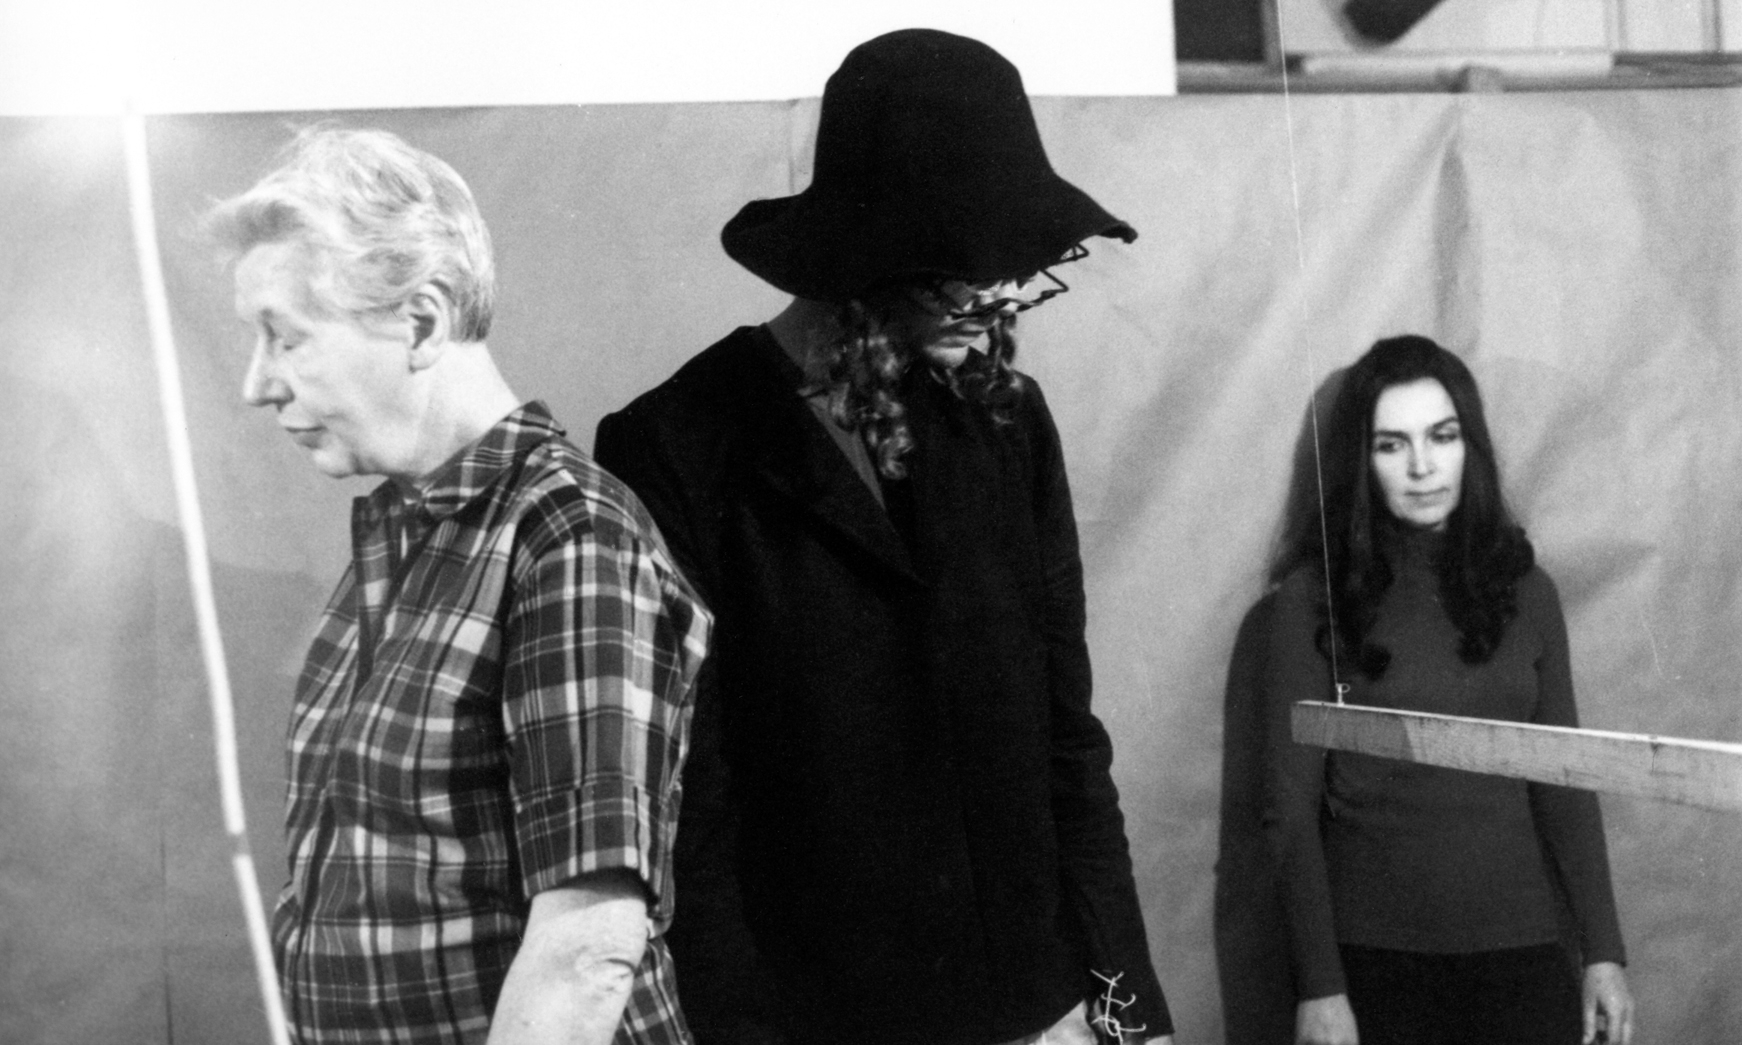
Photograph © The Byrd Hoffman School of Byrds
Photograph © The Byrd Hoffman School of Byrds
Photograph © The Byrd Hoffman School of Byrds
Photograph © The Byrd Hoffman School of Byrds